Android Development
This guide covers how to run and debug Ionic apps on Android emulators and devices using Capacitor or Cordova. Android apps can be developed on Windows, macOS, and Linux.
Android Studio
Android Studio is the IDE for creating native Android apps. It includes the Android SDK, which will need to be configured for use in the command line.
Android Studio is also used to create Android virtual devices, which are required for the Android emulator. Ionic apps can also be launched to a device.
note
We don't recommend using Android Studio for developing Ionic apps. Instead, it should only really be used to build and run your apps for the native Android platform and to manage the Android SDK and virtual devices.
Installing Android Studio
Download Android Studio from the Android website. More detailed installation instructions can be found in the User Guide.
Installing the Android SDK
Once installed, open Android Studio. The IDE should detect that the Android SDK needs to be installed. In the SDK Components Setup screen, finish installing the SDK. Keep note of the Android SDK Location.
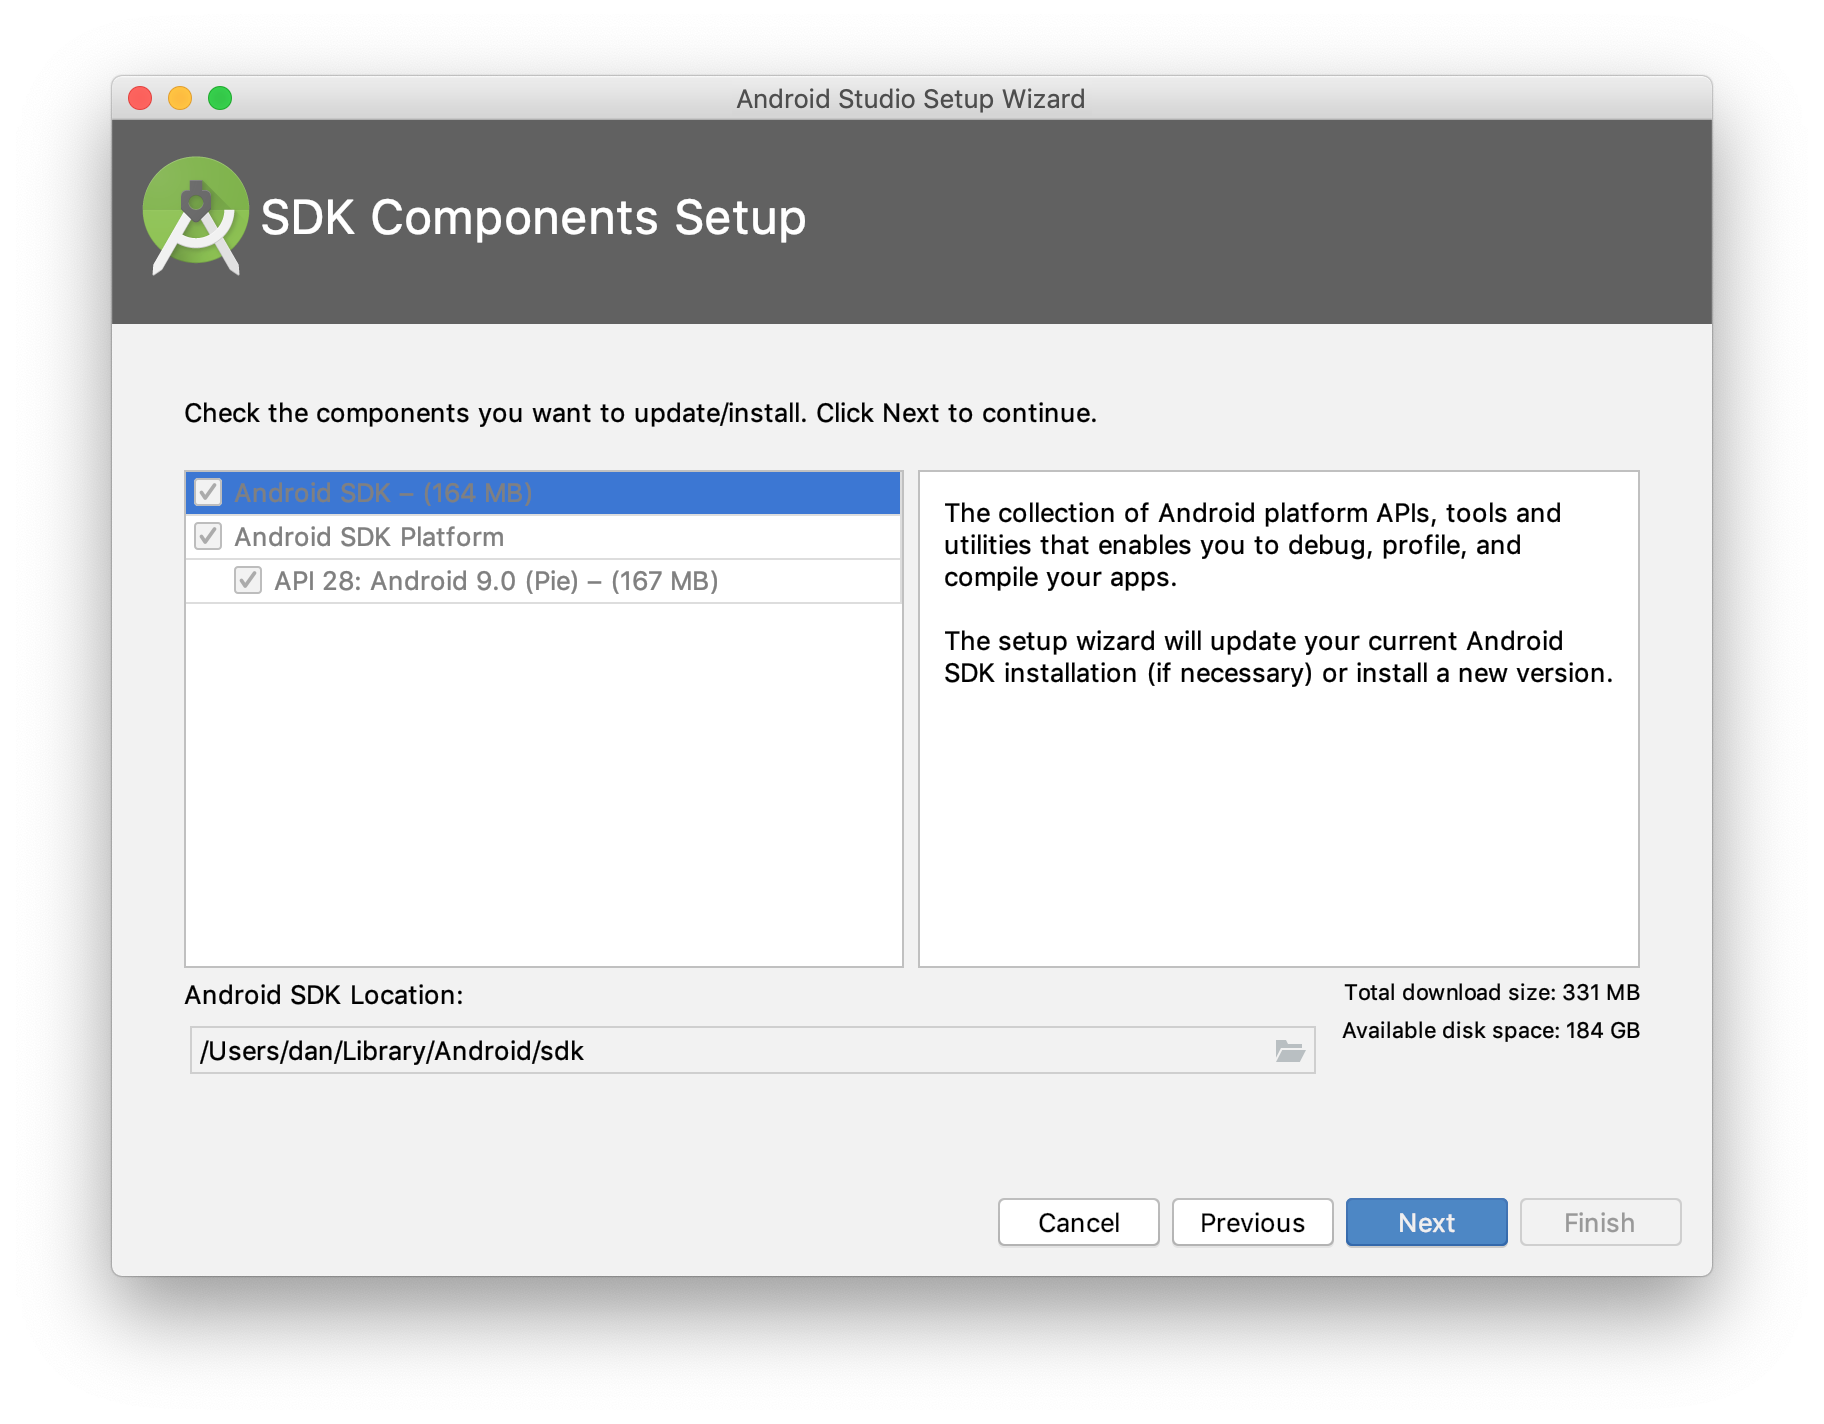
By default, the latest stable SDK Platform is installed, which includes a collection of packages required to target that version of Android.
To install system images and other minor SDK platform packages, you may need to ensure Show Package Details is checked at the bottom of the SDK Manager.
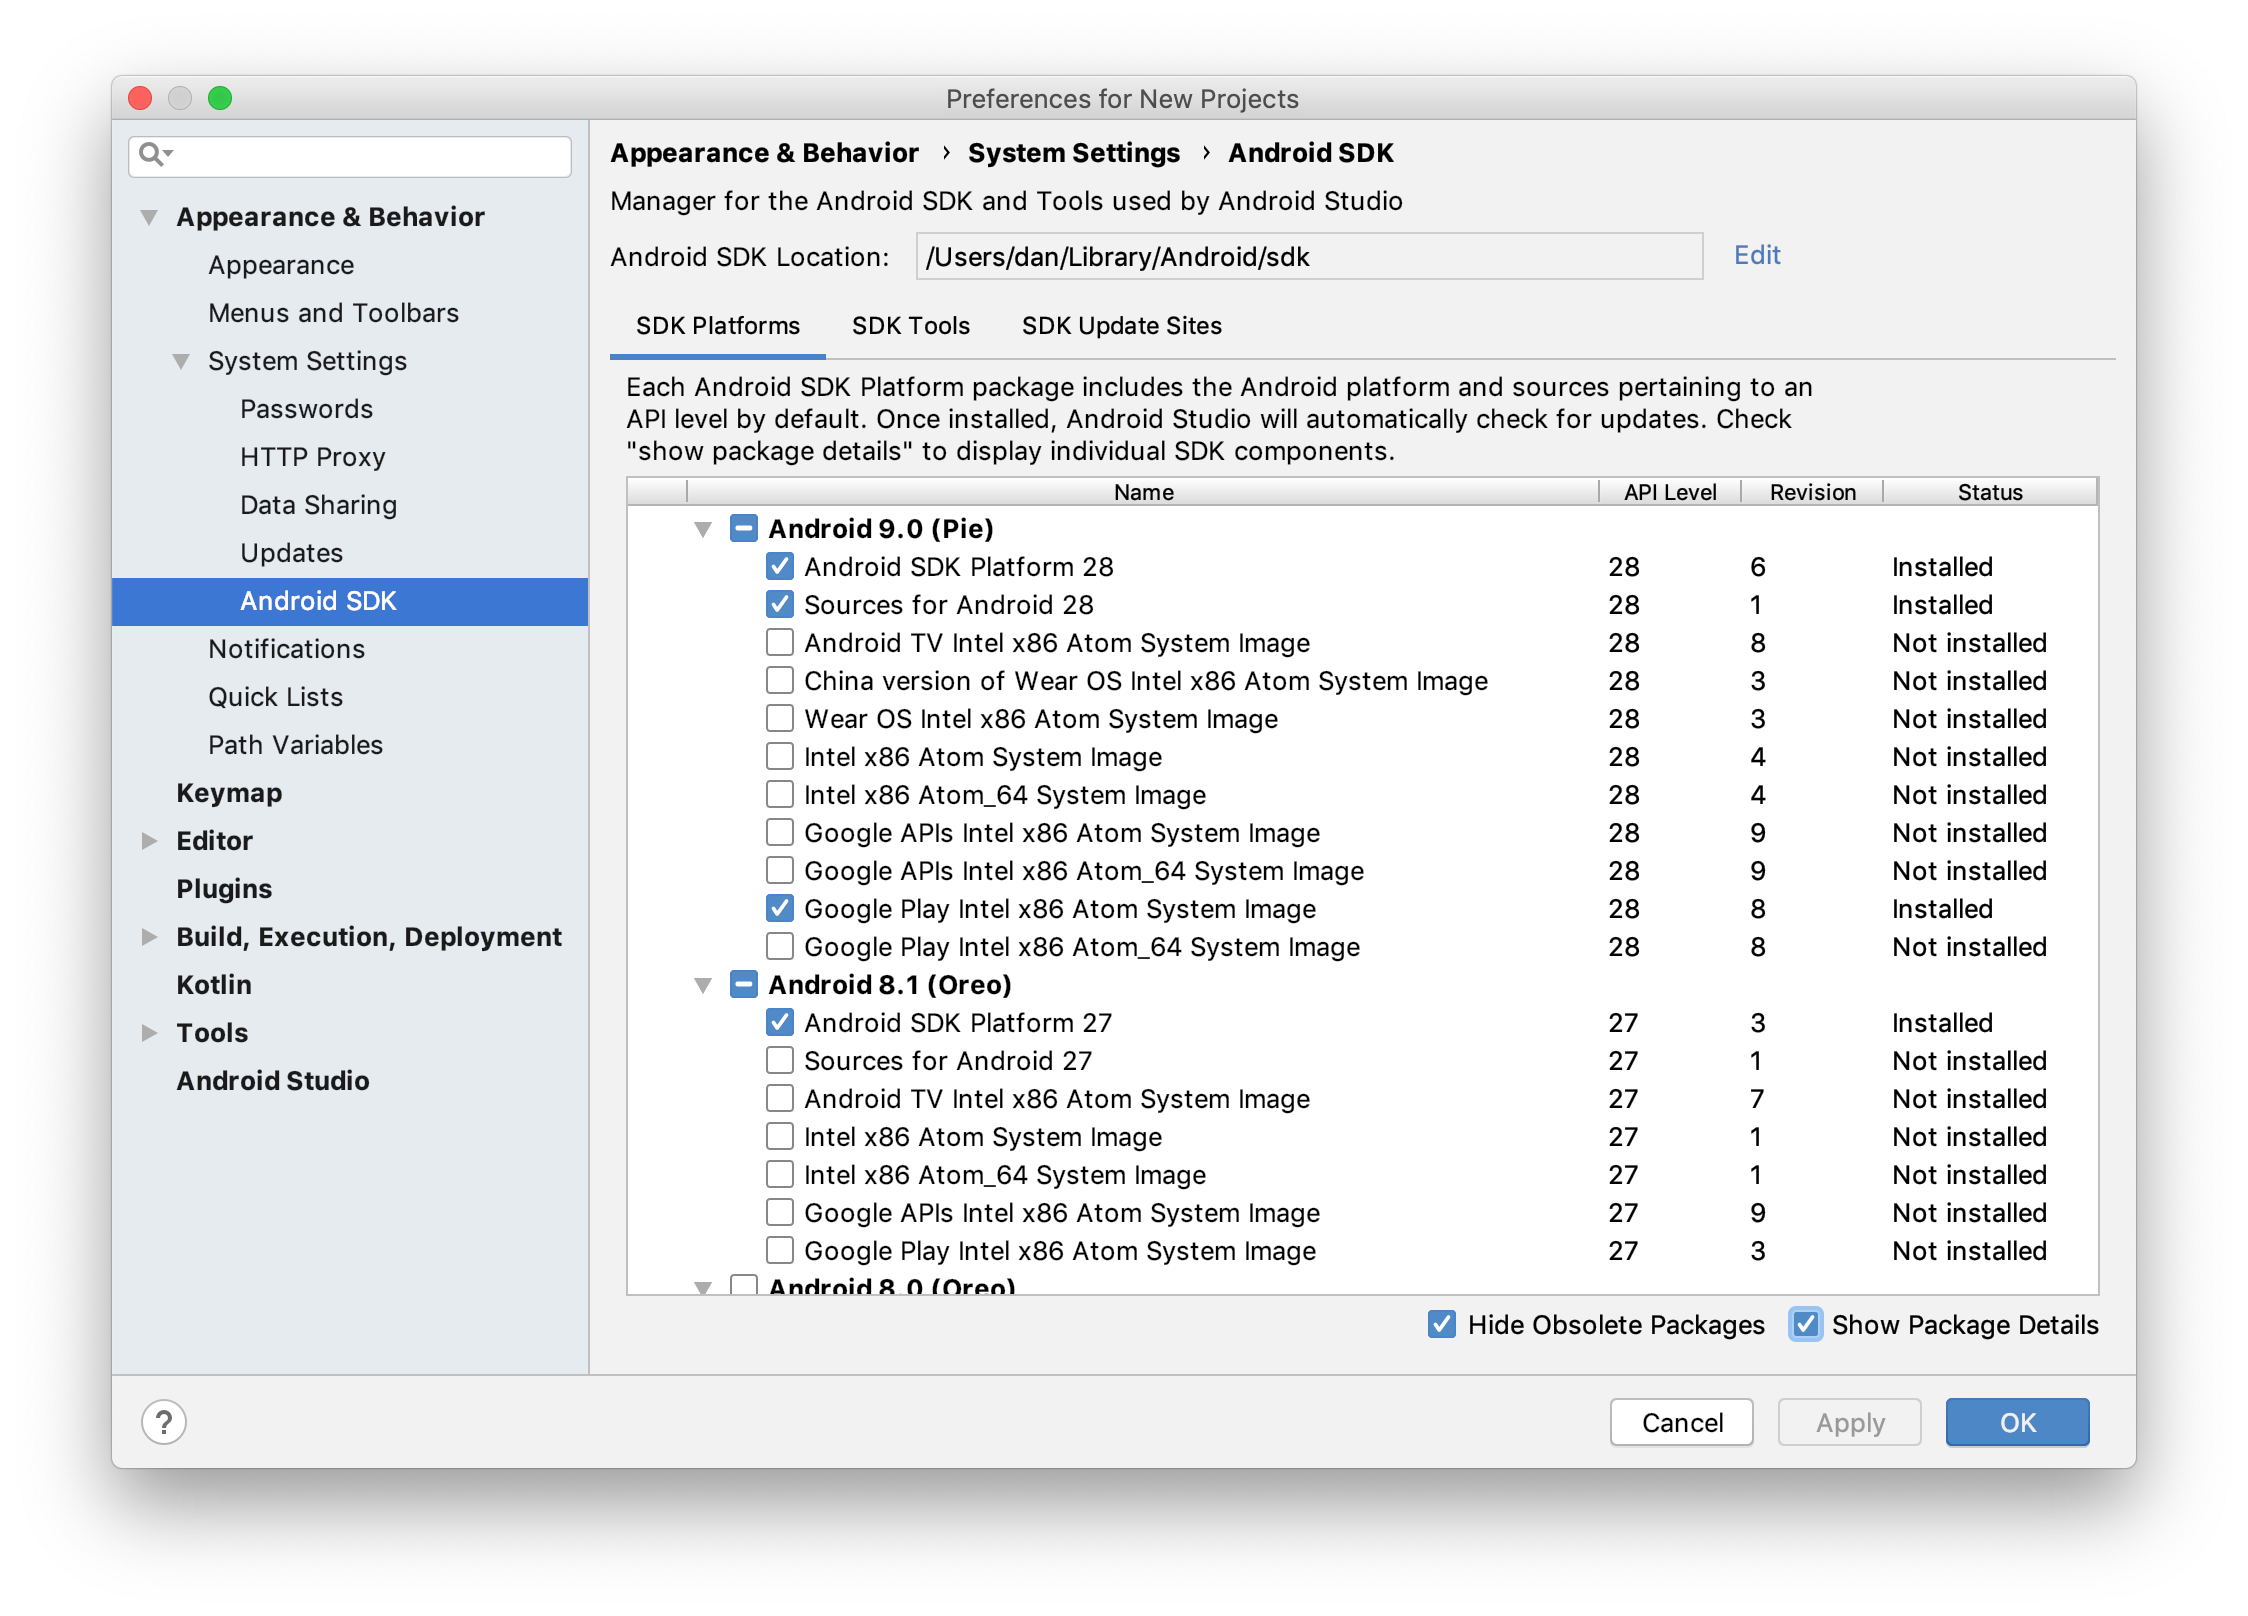
For future reference, the Android SDK can be managed with Android Studio in the Configure » SDK Manager menu of the Android Studio welcome screen or Tools » SDK Manager inside Android projects.
Configuring Command Line Tools
The Android SDK ships with useful command-line tools. Before they can be used, some environment variables must be set. The following instructions are for macOS and Linux. For Windows, check the documentation on setting and persisting environment variables in terminal sessions.
In ~/.bashrc, ~/.bash_profile, or similar shell startup scripts, make the following modifications:
Set the
ANDROID_SDK_ROOTenvironment variable. This path should be the Android SDK Location used in the previous section.$ export ANDROID_SDK_ROOT=$HOME/Library/Android/sdkAdd the Android SDK command-line directories to
PATH. Each directory corresponds to the category of command-line tool.$ # avdmanager, sdkmanager
$ export PATH=$PATH:$ANDROID_SDK_ROOT/tools/bin
$ # adb, logcat
$ export PATH=$PATH:$ANDROID_SDK_ROOT/platform-tools
$ # emulator
$ export PATH=$PATH:$ANDROID_SDK_ROOT/emulatornote
For
apksignerandzipalign,$ANDROID_SDK_ROOT/build-tools<version>must also be added toPATH.
Creating an Android Virtual Device
Android Virtual Devices (AVDs) are blueprints that the Android emulator uses to run the Android OS. The following documentation is a quick way to get the Android emulator set up. For more detailed instructions and information, see the Android documentation.
AVDs are managed with the AVD Manager. In the Android Studio welcome screen, click Configure » AVD Manager. The AVD Manager can also be opened inside Android projects in the Tools » AVD Manager menu.
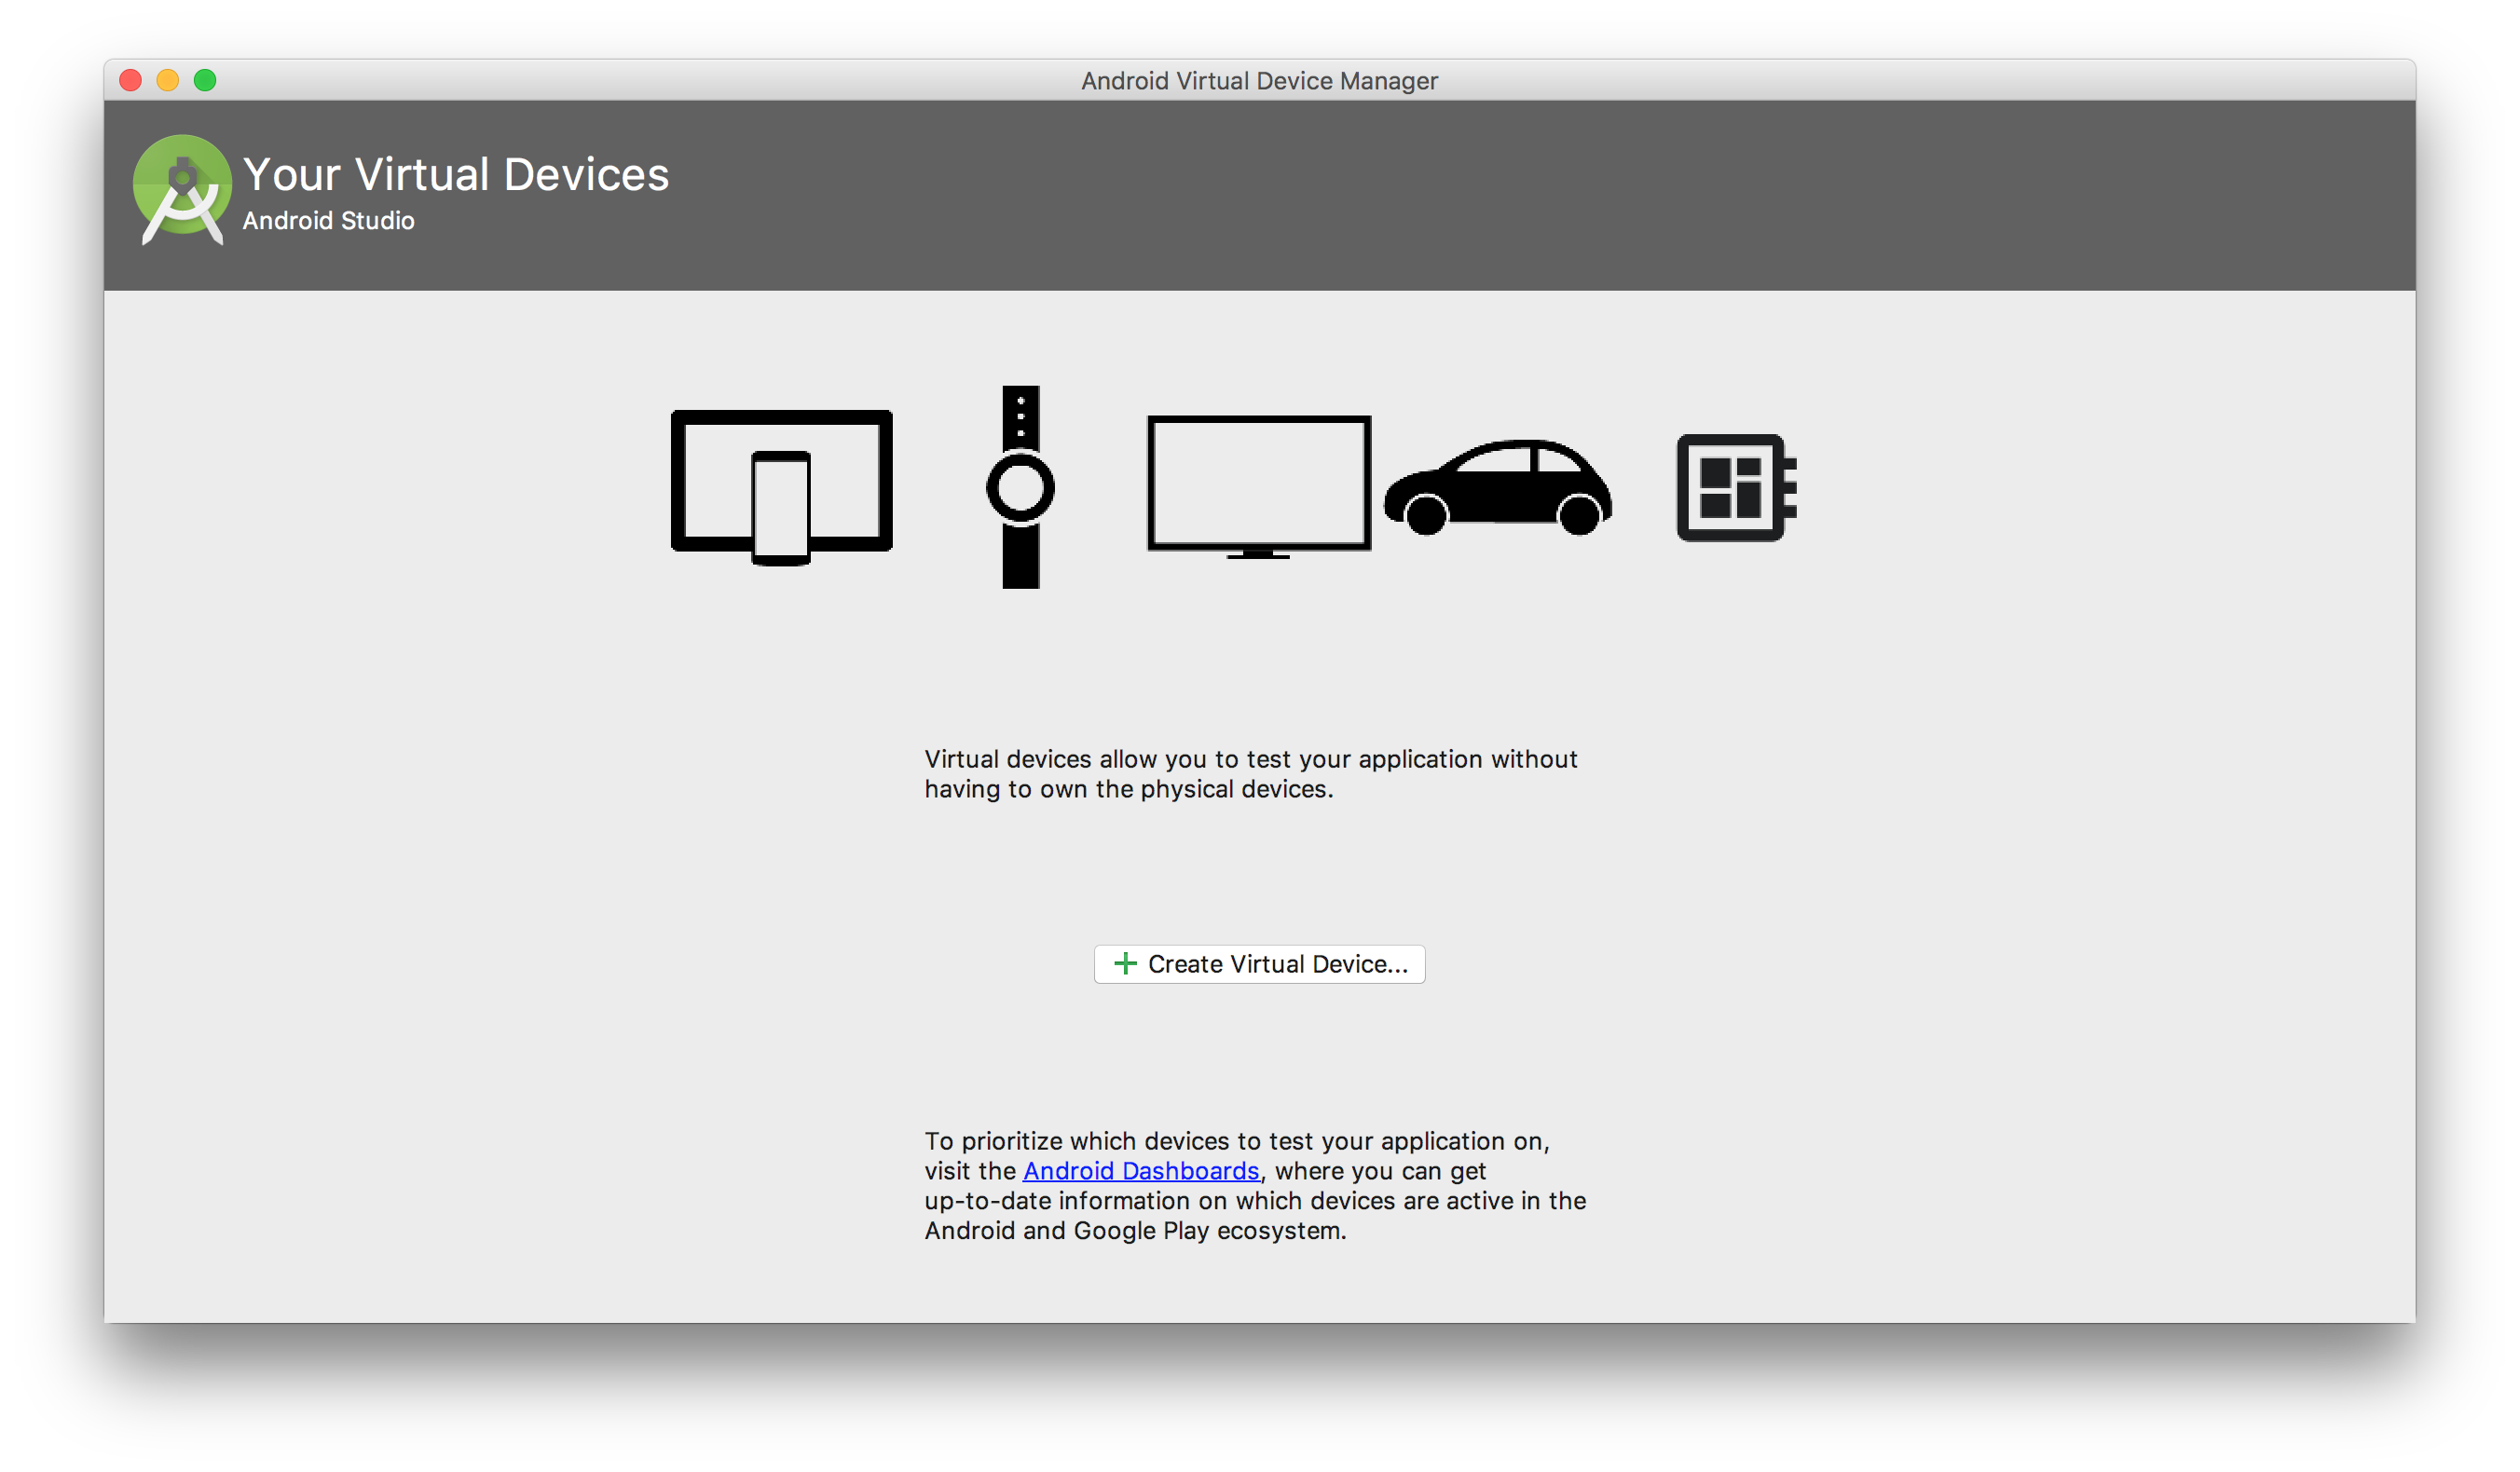
Click Create Virtual Device and select a suitable device definition. If unsure, choose Pixel 2. Then, select a suitable system image. If unsure, choose Pie (API 28) with Google Play services. See Android version history for information on Android versions.
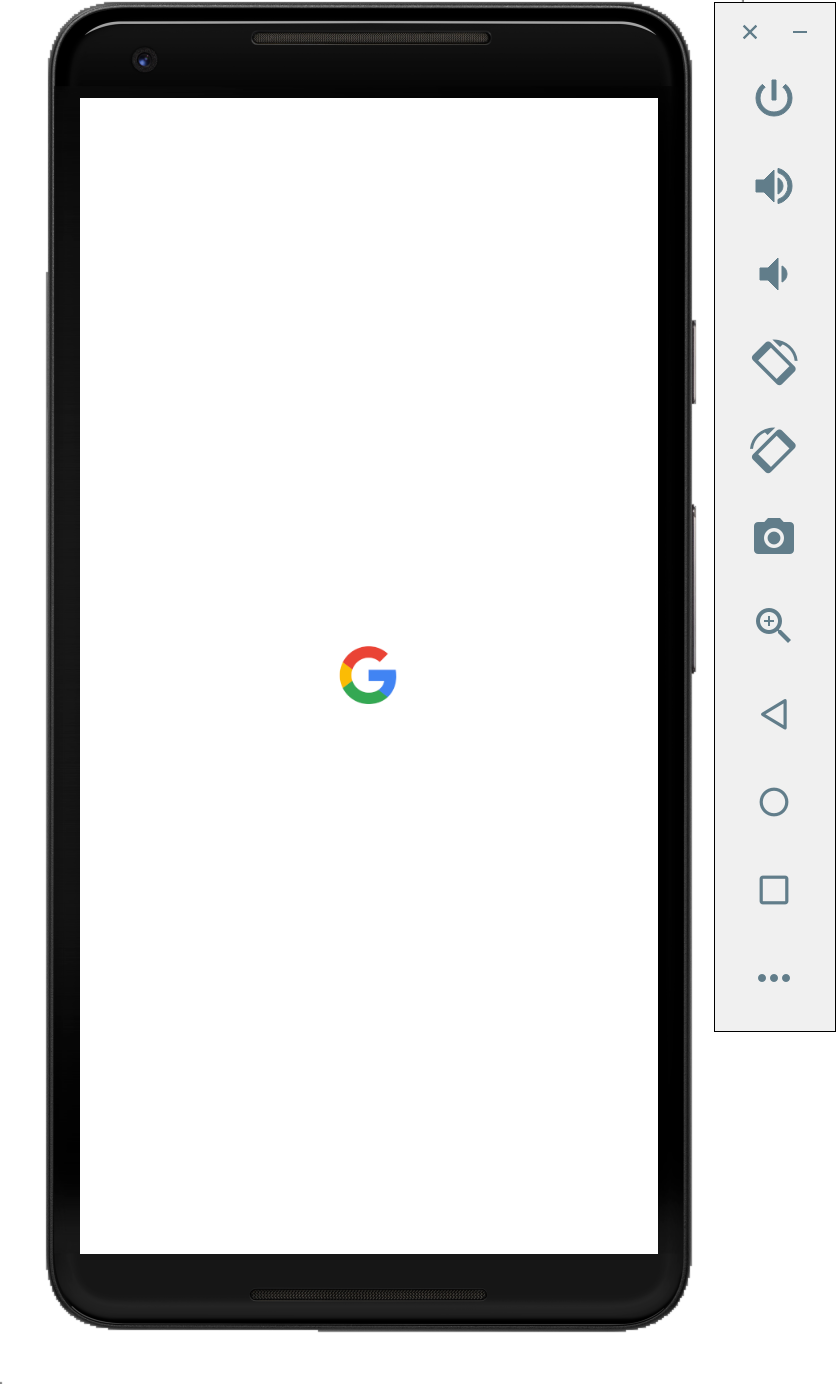
Once the AVD is created, launch the AVD into the Android emulator. Keeping the emulator running is the best way to ensure detection while developing Ionic apps for Android.
Set up an Android Device
Actual Android hardware can also be used for Ionic app development. But first, the device must be set up for development. The following documentation is a quick way to set up Android devices for development. For more detailed instructions and information, see the Android documentation.
- Enable USB debugging on the device. Open Settings, navigate to Developer options, and enable USB debugging. The Developer options menu may need to be enabled first. See the Android documentation for instructions.
- Ensure the device has permission to connect to the computer. For macOS, no additional setup is required. For Windows, install the OEM USB drivers.
Verify the connection works by connecting the device to the computer with a USB cable and using the following command:
adb devices
The device should be listed. See the full adb documentation for troubleshooting and detailed information.
Cordova Setup
Additional setup is required for Cordova to support programmatic builds. This section is not necessary for Capacitor.
Java
Native Android apps are compiled with the Java programming language. Download JDK8 from the download page.
note
Unfortunately, Cordova is not compatible with the latest version of Java.
Gradle
Gradle is the build tool used in Android apps and must be installed separately. See the install page for details.Project Setup
Before apps can be deployed to Android simulators and devices, the native project must be configured.
Generate the native project, if it does not already exist.
For Capacitor, run the following:
$ ionic capacitor add androidFor Cordova, run the following:
$ ionic cordova prepare androidSet the Package ID.
For Capacitor, open the
capacitor.config.jsonfile and modify theappIdproperty.For Cordova, open the
config.xmlfile and modify theidattribute of the root element,<widget>. See the Cordova documentation for more information.
Running with Capacitor
Capacitor uses Android Studio to build and run apps to simulators and devices.
Develop the Ionic app and sync it to the native project.
With each meaningful change, Ionic apps must be built into web assets before the change can appear on Android simulators and devices. The web assets then must be copied into the native project. Luckily, this process is made easy with a single Ionic CLI command.
$ ionic capacitor copy androidIn Android Studio, click the Run button and then select the target simulator or device.
Live reload
To start a live-reload server run the following command.
ionic capacitor run android -l --host=YOUR_IP_ADDRESS
When running on a device make sure the device and your development machine are connected to the same network.
Running with Cordova
The Ionic CLI can build, copy, and deploy Ionic apps to Android simulators and devices with a single command. It can also spin up a development server, like the one used in ionic serve, to provide live-reload functionality.
Run the following to start a long-running CLI process that boots up a live-reload server:
ionic cordova run android -l
Now, when changes are made to the app's source files, web assets are rebuilt and the changes are reflected on the simulator or device without having to deploy again.
Debugging Android Apps
Once an app is running on an Android device or emulator, it can be debugged with Chrome DevTools.
Using Chrome DevTools
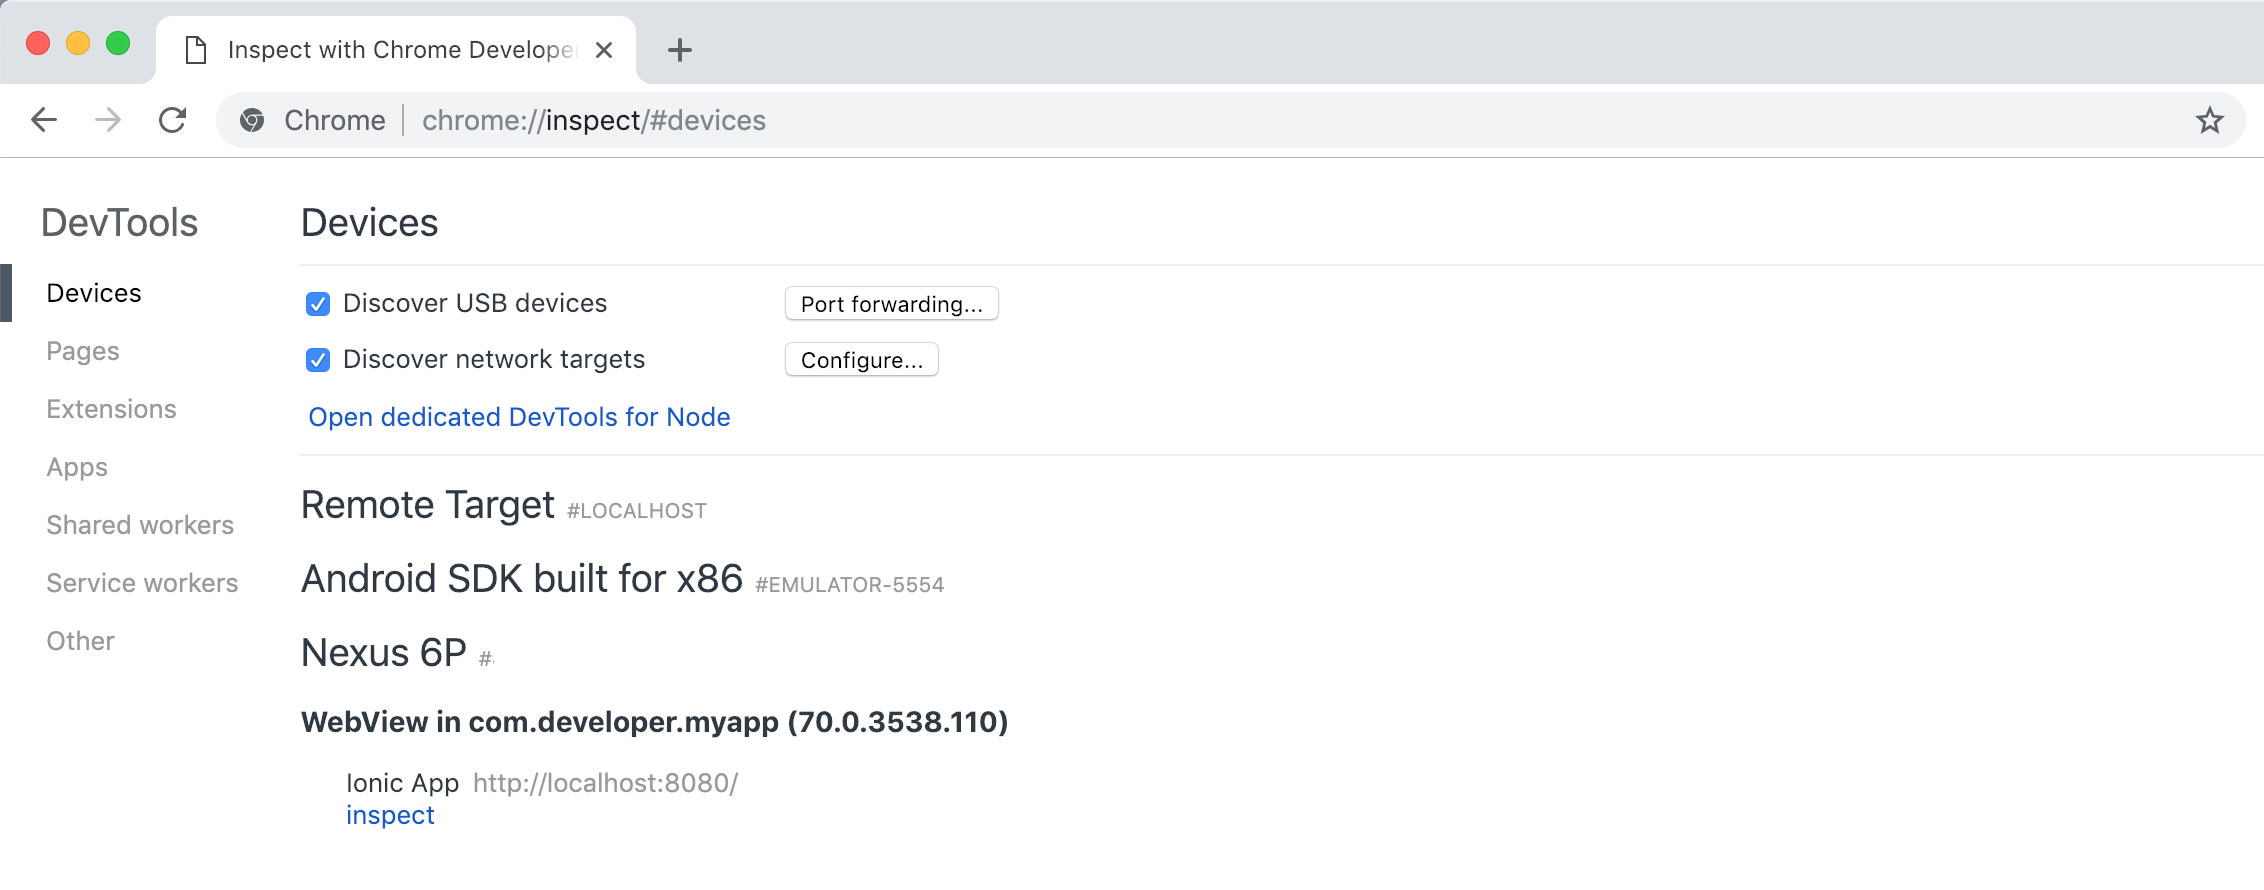
Chrome has web developer tool support for Android simulators and devices. Go to chrome://inspect in Chrome while the simulator is running or a device is connected to the computer and Inspect the app that needs to be debugged.
note
Make sure your application is running on the device or simulator, or it will not show up in the list.
Viewing Native Logs
If running with Android Studio, native logs can be found in Logcat.
note
If the Logcat window is hidden, you can enable it in View » Tool Windows » Logcat.
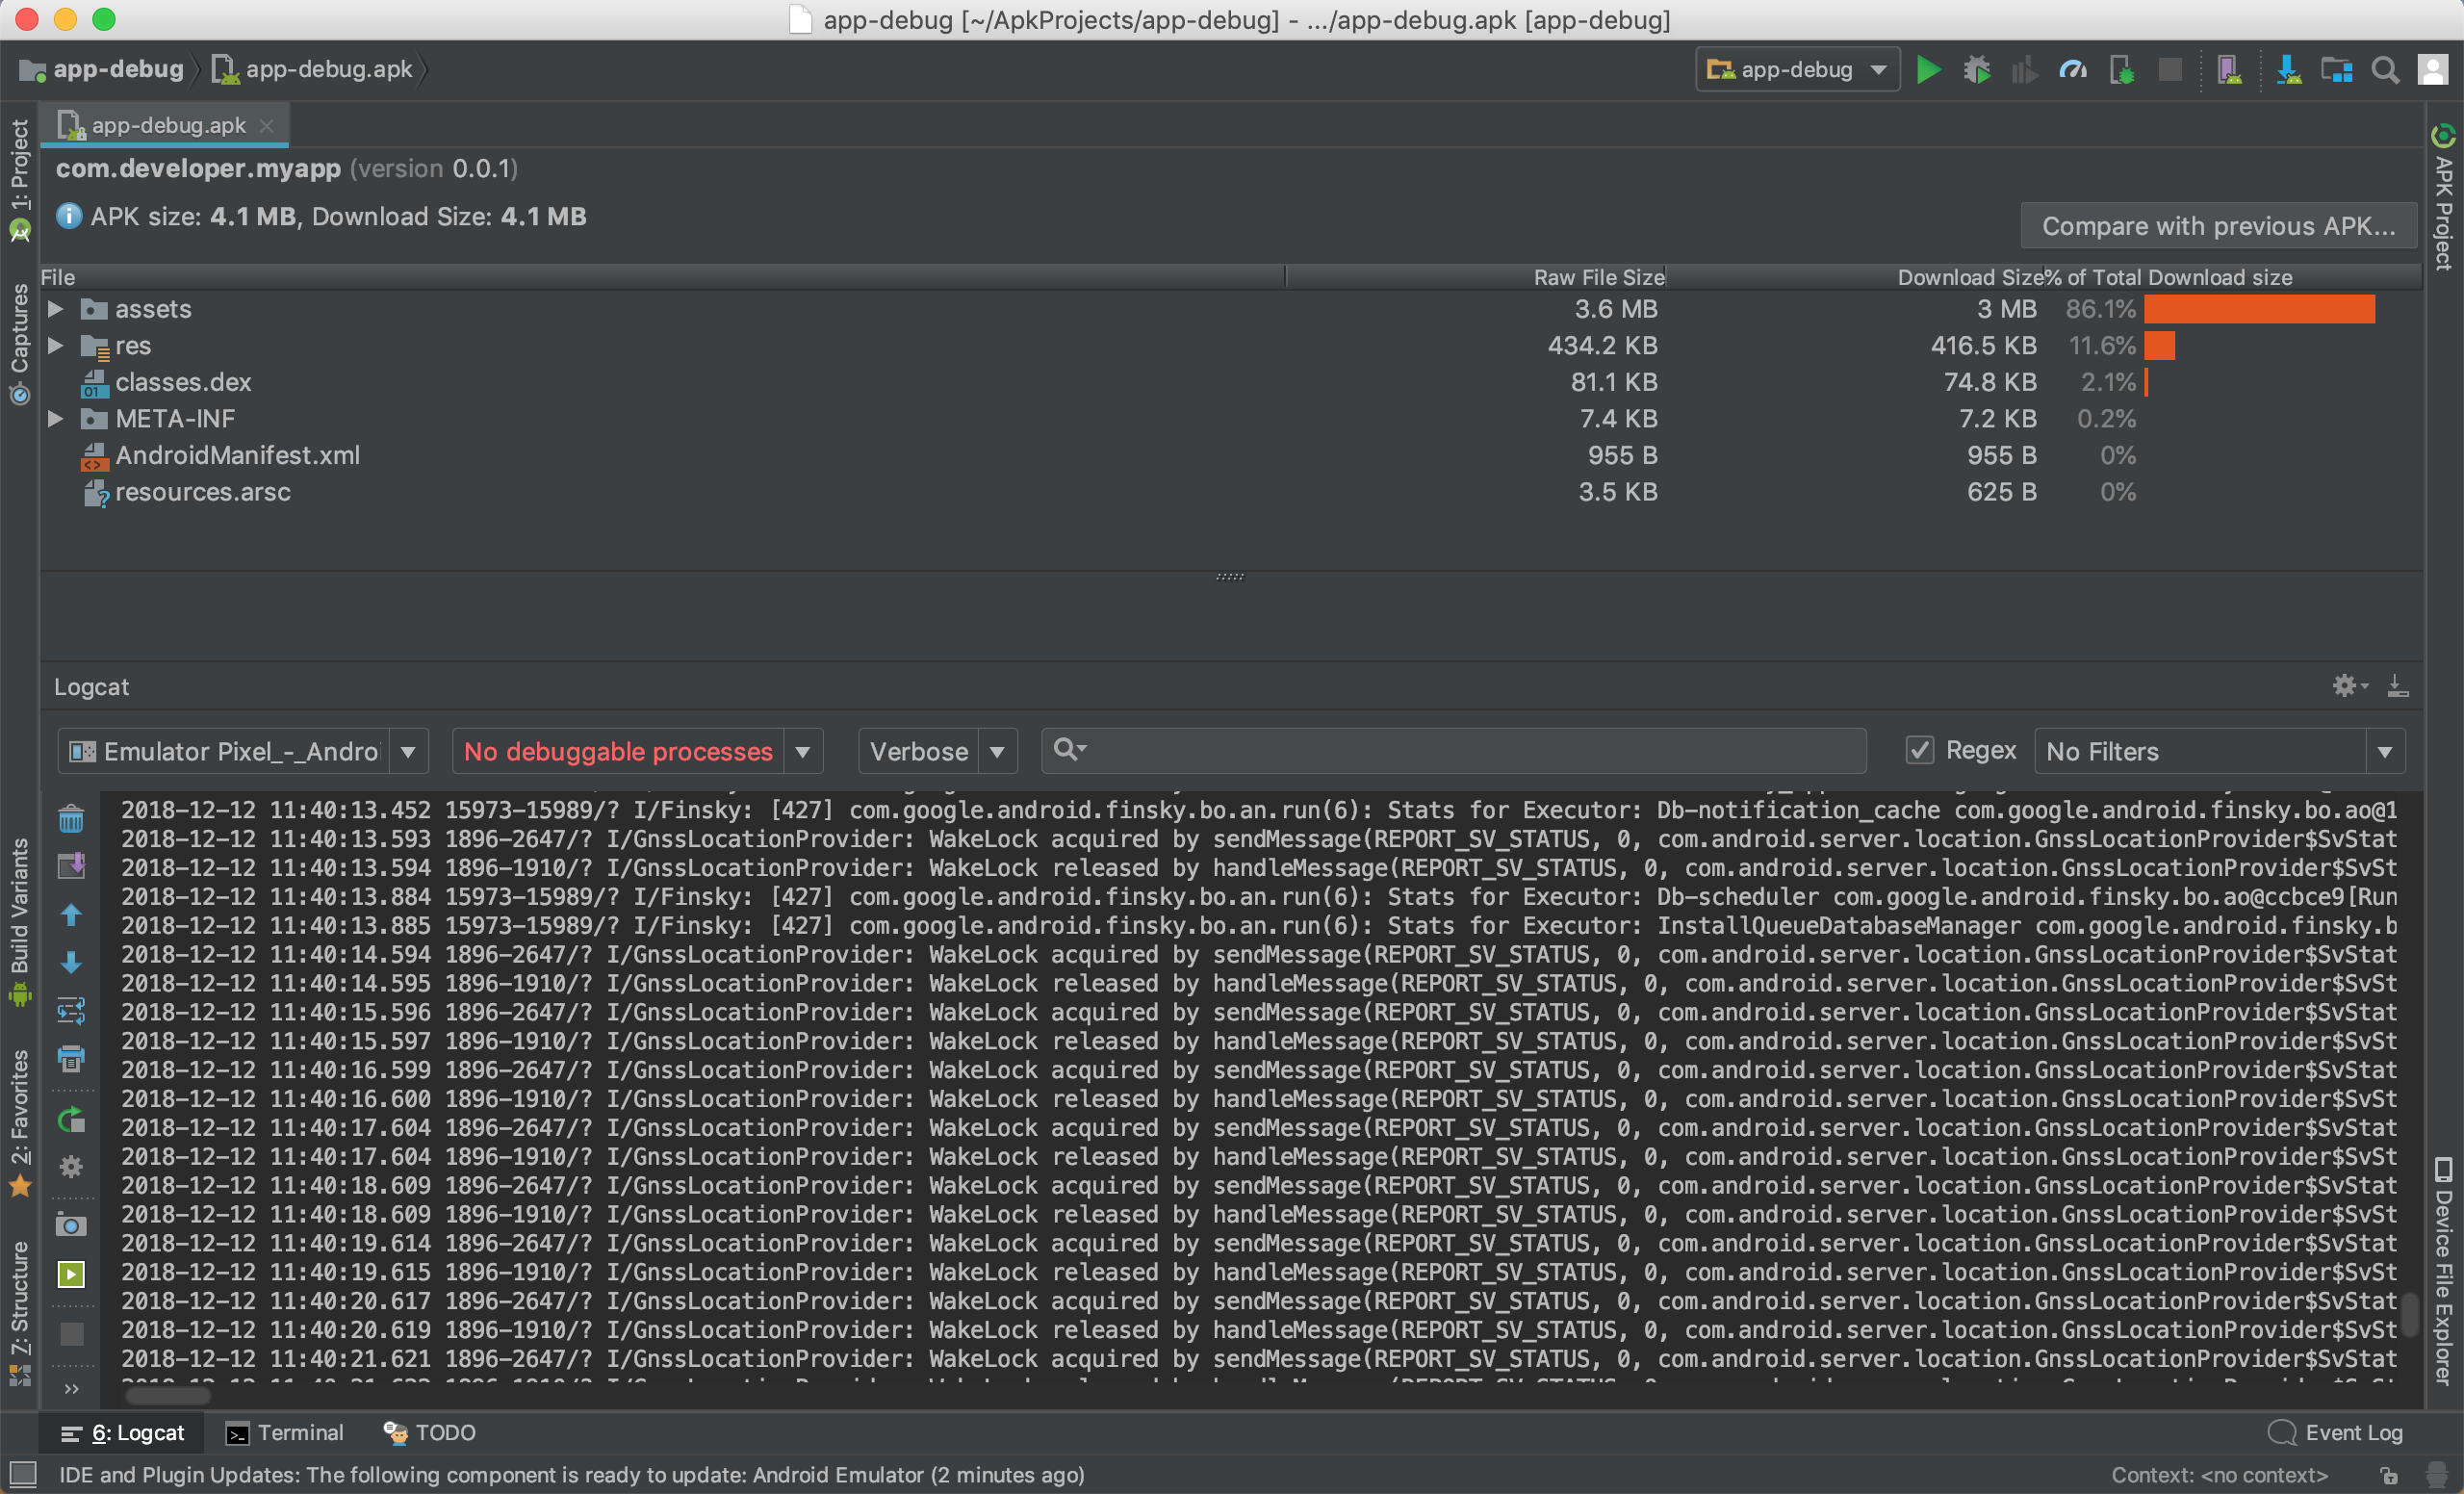
You can also access Logcat with ADB.
adb logcat